Craving a frozen treat that’s nostalgic, creamy, and coated in chocolate? This homemade Eskimo Pie popsicle recipe goes the extra mile by using homemade vanilla ice cream, adding a rich, fresh flavor to every bite. These popsicles are easy to make at home and can be personalized with toppings of your choice.
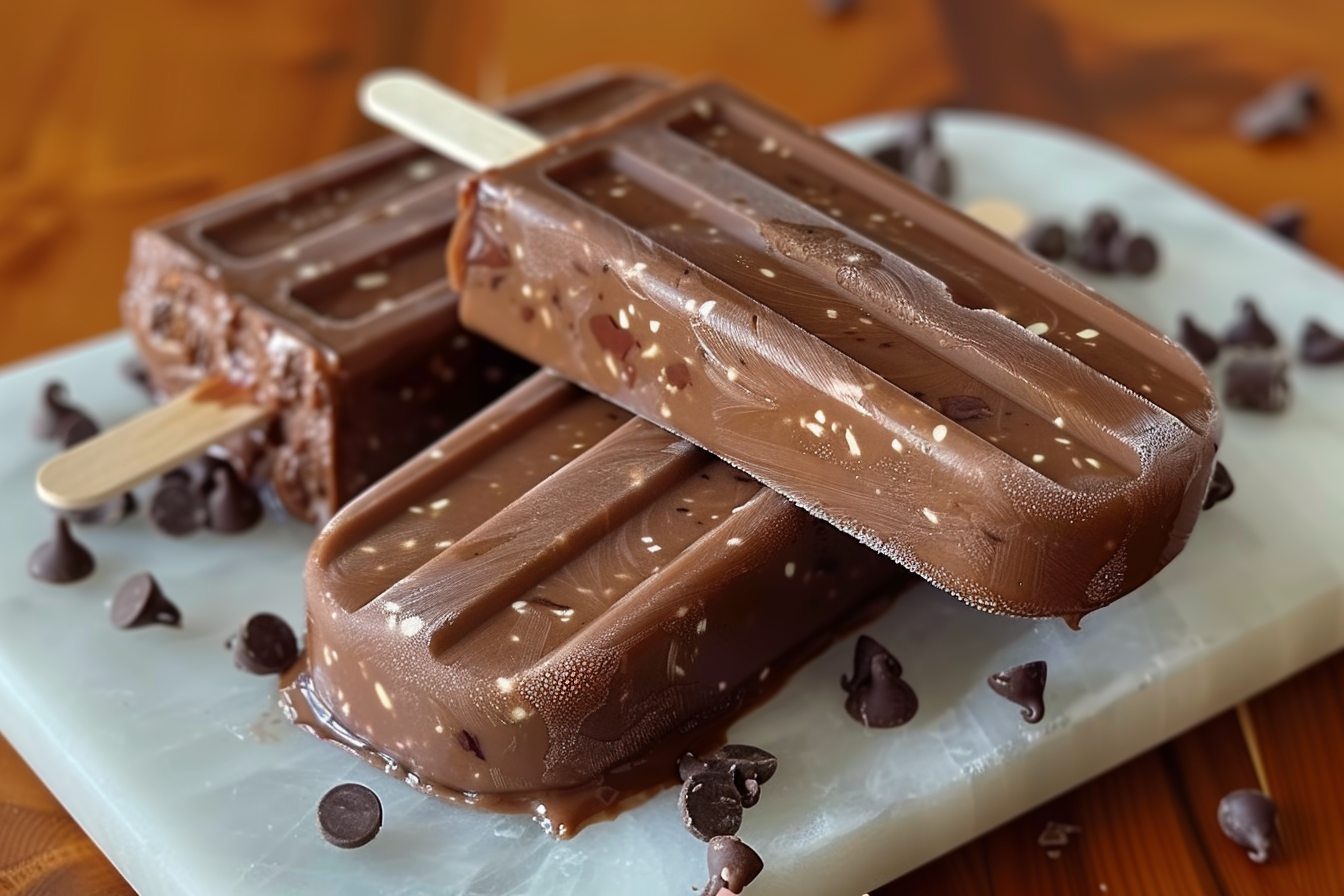
Best Homemade Eskimo Pie Popsicle Recipe
8
popsicles10
minutes4
hours322
kcal4
hours10
minutesKeep the screen of your device on
Ingredients
- For the Homemade Vanilla Ice Cream
475 ml 2 cup heavy cream
240 ml 1 cup whole milk
150 ml 3/4 cup granulated sugar
1 tablespoon 1 tablespoon pure vanilla extract
1 pinch 1 pinch salt
- For the Chocolate Coating:
200 g 7 oz semi-sweet or dark chocolate
2 tablespoons 2 tablespoons coconut oil or butter (to thin the chocolate)
- Optional Toppings:
C rushed nuts (like peanuts, almonds)
Sprinkles
Shredded coconut
Equipment
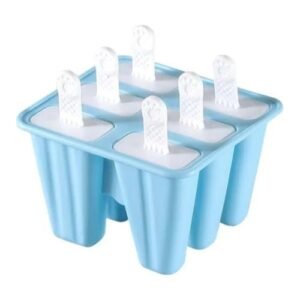
 Popsicle mold
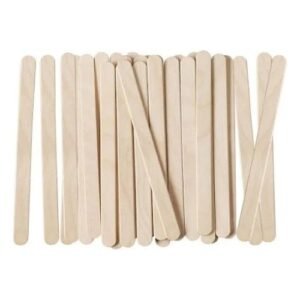
- Wooden popsicle sticks
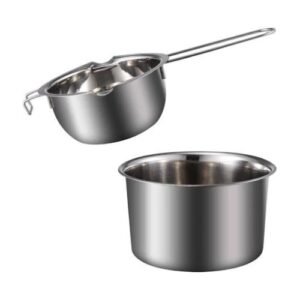
- Microwave-safe bowl or double boiler
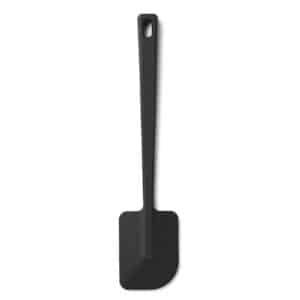
- spatula
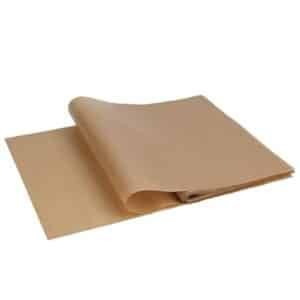
- Parchment paper
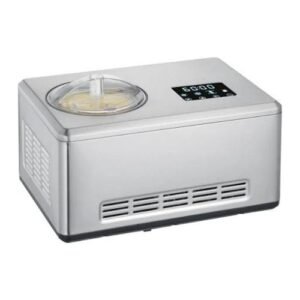
- Ice cream maker
Directions
- Make the Vanilla Ice Cream:
- Whisk together cream, milk, sugar, vanilla extract, and a pinch of salt in a large bowl until the sugar dissolves.
- Pour the mixture into an ice cream maker and churn according to the manufacturer’s instructions until thickened and creamy (about 20–30 minutes).
- Transfer to a freezer-safe container and freeze for at least 4 hours or until firm. You can now use this homemade vanilla ice cream for the popsicles.
- Prepare the Ice Cream Popsicles:
- Scoop the homemade vanilla ice cream into the popsicle molds, tapping gently to remove air pockets and ensure the ice cream is packed in tightly.
- Insert the wooden popsicle sticks into the center of each mold, ensuring they are stable.
- Freeze the molds for 4–6 hours, or until the ice cream is fully set and solid.
- Melt the Chocolate:
- Melt the chocolate and coconut oil together in a microwave-safe bowl. Heat in 30-second intervals, stirring after each, until the mixture is smooth and fully melted. You can also use a double boiler for this step.
- Allow the melted chocolate to cool slightly so it thickens but remains liquid for dipping.
Can I make the vanilla ice cream without an ice cream maker?
Yes! If you don’t have an ice cream maker, you can use a no-churn method. Whisk 2 cups (475 ml) of heavy cream to stiff peaks, then fold in 1 can (14 oz or 395 g) of sweetened condensed milk and 1 tablespoon (15 ml) of vanilla extract. Freeze the mixture for 4–6 hours until firm, and proceed with the recipe.
How do I ensure the chocolate coating is smooth?
To achieve a smooth, even coating, make sure to add coconut oil or butter to your melted chocolate. This thins the chocolate and helps it coat the ice cream evenly. Also, let the chocolate cool slightly before dipping so it doesn’t melt the ice cream.
How do I store homemade Eskimo Pie popsicles?
Once your popsicles are fully set and coated, store them in an airtight container or wrap each one individually in plastic wrap to avoid freezer burn. They’ll stay fresh for up to 1 week.
Can I use chocolate chips for the coating?
Yes, chocolate chips work well! Be sure to add coconut oil or butter to the chips as they melt to ensure a smoother and thinner coating. This will make dipping the popsicles easier.
What if I don’t have popsicle molds?
If you don’t have popsicle molds, you can use small paper cups. Fill them with ice cream, insert popsicle sticks, and freeze. Once frozen, peel away the paper cup and dip the popsicles in chocolate.
Can I make these popsicles ahead of time?
Yes! You can make the popsicles up to a week in advance. Just make sure they’re stored in an airtight container in the freezer to maintain their freshness and texture.
How long should I freeze the popsicles before dipping them in chocolate?
The popsicles should freeze for at least 4 hours (or overnight) to ensure they are solid enough for dipping in the warm chocolate. If they aren’t frozen solid, they might melt when dipped.
Why is my chocolate coating cracking?
If the chocolate coating cracks when you bite into the popsicle, it may be too thick. Try adding a bit more coconut oil or butter to thin the chocolate. This will create a thinner, more flexible shell.


